 Save to Pinterest
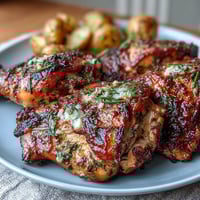
 There's a particular magic that happens when you're standing in front of your oven, watching chicken wings transform into glossy, caramelized jewels. I discovered these sticky wings one ordinary Tuesday evening when I was determined to prove that restaurant-quality appetizers belonged in my home kitchen, not just on someone else's table. The combination of soy, ginger, and honey hit me like a revelation—something that felt both familiar and excitingly new. What started as an experiment became the dish I make whenever I need to impress or simply want to eat something extraordinary on a random weeknight.
I remember bringing these to a casual dinner party where everyone was supposed to bring something simple, and within minutes they became the only thing people wanted to talk about. My friend Sarah literally asked for the recipe before she'd finished her first wing, and now whenever she hosts, these show up on the table. That's the moment I realized these weren't just good—they were the kind of dish that makes people remember you made them.
Ingredients
- Chicken wings (1.2 kg / 2.5 lbs): Ask your butcher to remove the tips and separate the flats from the drumettes—this saves time and ensures even cooking, plus the tips can be saved for stock.
- Soy sauce (80 ml / 1/3 cup): This is your umami anchor; use full-sodium unless you're watching salt, and don't cheap out here because the sauce depends on its depth.
- Honey (60 ml / 1/4 cup): It caramelizes beautifully and adds shine to the glaze—maple syrup works in a pinch if that's what you have.
- Hoisin sauce (60 ml / 1/4 cup): The secret weapon that gives these wings their restaurant-quality color and slight fermented richness.
- Brown sugar (2 tbsp): This intensifies the caramelization and balances the saltiness of the soy.
- Rice vinegar (2 tbsp): A splash of brightness that keeps the sauce from being one-dimensional and heavy.
- Sesame oil (2 tbsp): Use the dark, toasted variety—a little goes a long way and it changes everything about the flavor profile.
- Garlic (4 cloves, minced): Fresh is non-negotiable here; mined garlic from a jar will taste tinny compared to the vibrant version you get from peeling fresh cloves.
- Fresh ginger (1 tbsp, grated): Grate it right before mixing, and your whole kitchen will smell like possibility.
- Black pepper (1/2 tsp, freshly ground): Ground fresh rather than pre-ground makes a noticeable difference in that warming bite.
- Chili flakes (1/2 tsp, optional): Add these if you like heat, or skip them entirely if you're cooking for people who don't.
- Sesame seeds (2 tbsp, toasted): Toasting them yourself takes two minutes and multiplies their flavor; buy them raw and toast in a dry pan until fragrant.
- Green onions (2, thinly sliced): The final garnish that brings freshness and color to the table.
Tired of Takeout? 🥡
Get 10 meals you can make faster than delivery arrives. Seriously.
One email. No spam. Unsubscribe anytime.
Instructions
- Set your oven stage:
- Preheat to 220°C (425°F) and line a baking sheet with foil, then top it with a wire rack—this setup lets hot air circulate underneath the wings so they get crispy instead of steamed.
- Build your glaze:
- In a bowl, whisk together the soy sauce, honey, hoisin, brown sugar, rice vinegar, sesame oil, garlic, ginger, black pepper, and chili flakes until everything is combined and the brown sugar dissolves. This is the moment the kitchen smells incredible and you know you're onto something good.
- Coat the wings:
- Toss your chicken wings in the marinade until every piece is glossy and coated, then carefully set aside about 1/4 cup of the sauce in a small bowl—this reserved portion is your secret weapon for the final glazing.
- First bake:
- Arrange the wings in a single layer on the rack and slide them into the oven for 25 minutes—they'll start to firm up but won't be fully cooked yet.
- The glaze and second bake:
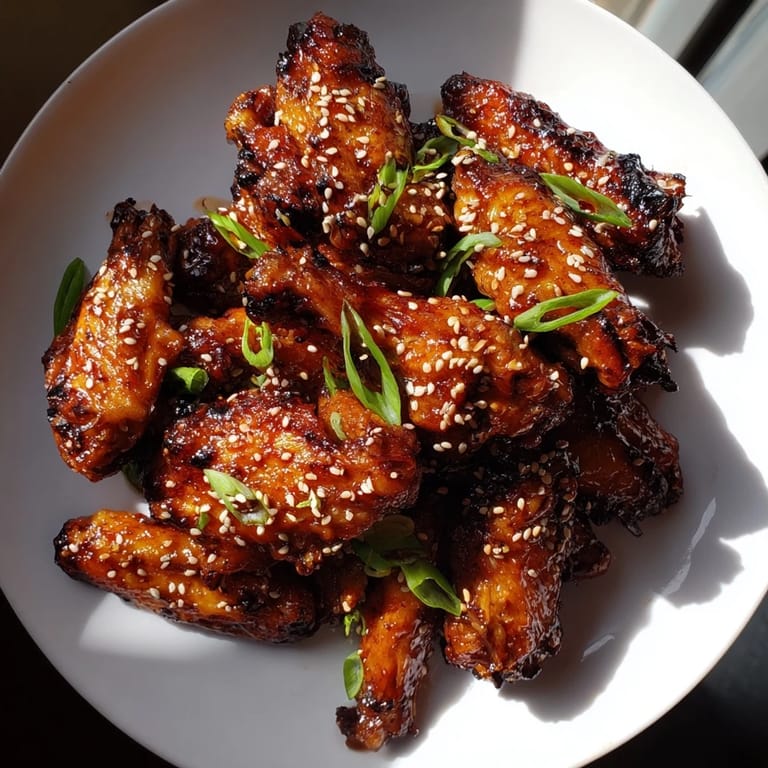
- Pull the wings out, brush them generously with your reserved marinade using a pastry brush, then return them to the oven for 10 to 15 more minutes, turning them over halfway through and brushing again. Watch them transform into mahogany-colored, sticky marvels.
- Finish and serve:
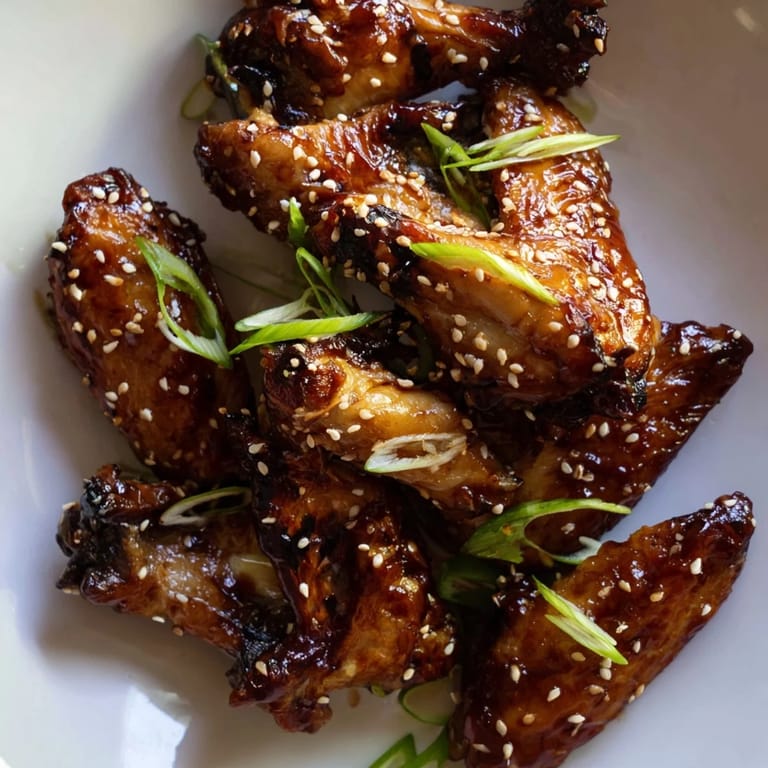
- Transfer the wings to a serving platter while they're still hot, scatter sesame seeds and sliced green onions over the top, and serve immediately—they're best eaten right away when the glaze is still clinging to every bite.
 Save to Pinterest
 There was an evening when I made these wings for my family on a completely ordinary Sunday, and my dad, who is not particularly effusive, asked if I'd learned to cook them professionally. It was such a small moment, but it stuck with me—this simple appetizer had somehow transcended the category of 'just food' and become something worth remarking on.
Why This Marinade Works
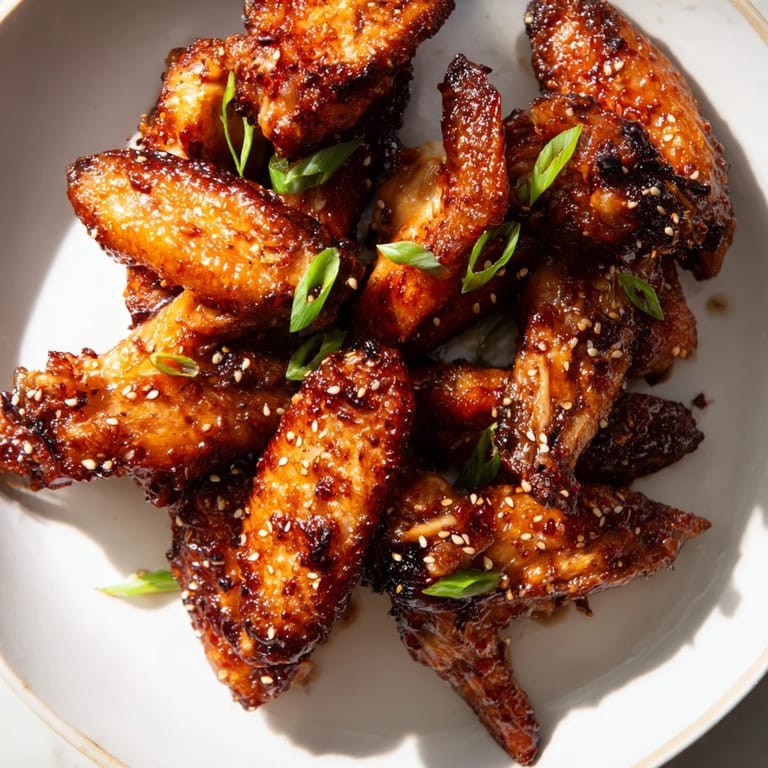
The genius of this sauce is in the balance—soy brings salt and savory depth, honey and brown sugar provide sweetness and caramelization, vinegar cuts through the richness, and sesame oil adds a toasted undertone that ties everything together. Garlic and ginger don't overpower but instead whisper in the background, making you feel something without necessarily knowing what you're tasting. This is the formula I've returned to again and again because it never disappoints, whether you're cooking for a crowd or for yourself on a Tuesday night.
The Wire Rack Difference
I learned the hard way that putting wings directly on a baking sheet leaves you with a soggy bottom—not ideal. A wire rack positioned above the sheet lets air flow underneath, which means your wings brown evenly and develop that crispy-then-sticky exterior you're after. If you don't have a wire rack, crumpled balls of foil work in a pinch, though they're less elegant and slightly less effective.
Serving and Storage
These wings sing when served hot and fresh, but if you need to make them ahead, they reheat beautifully in a 180°C oven for about 10 minutes, though they're never quite as spectacular the second time around. I've found that leftover wings are best eaten cold the next morning as an unusually good breakfast, or tossed into a rice bowl at lunch with cucumber and pickled vegetables. A few practical thoughts before you begin: have all your ingredients prepped and ready, keep a clean pastry brush nearby for glazing, and don't open the oven door constantly—patience gives you better wings.
- Pair these with steamed jasmine rice to soak up any extra glaze that pools on the plate.
- A simple cucumber salad or pickled vegetables alongside these balances the richness perfectly.
- These freeze beautifully once cooked; just thaw and reheat when you need an impressive snack.
 Save to Pinterest
 These sticky wings have become my answer to the question 'what should I make?' more times than I can count, and they've never let me down. There's something satisfying about serving food that feels special but doesn't require you to spend your entire evening in the kitchen.
Recipe FAQ
- → How do I get the wings extra crispy?
Pat the wings dry before marinating to remove excess moisture, which helps achieve a crisp exterior when baked.
- → Can I adjust the spice level?
Yes, increase or omit chili flakes according to your preferred heat intensity.
- → What is the best way to ensure an even glaze?
Reserve some marinade for brushing during baking and apply it in layers to build a sticky caramelized coating.
- → Can maple syrup replace honey in the glaze?
Maple syrup can be used as a natural alternative, offering a slightly different sweetness profile but similar caramelization.
- → What sides complement these wings well?
Pickled vegetables or steamed rice balance the rich flavors and add refreshing contrast.