 Save to Pinterest
 I used to toss every onion skin and carrot nub into the trash without a second thought until a rainy Tuesday changed everything. My kitchen counter was overflowing with leek tops and mushroom stems from a big dinner prep, and the air felt heavy with the scent of upcoming rain. On a whim, I tossed the pile into a pot of water instead of the bin. The house filled with a golden, earthy aroma that felt like a warm hug. It was the most satisfying way to turn waste into something deeply nourishing.
Last winter, I started keeping a large bag in the freezer specifically for these scraps. Every time I chopped an onion or peeled a carrot, I added to the collection until it was bursting at the seams. Boiling that frozen mixture on a Sunday afternoon has become a quiet ritual that marks the start of my week. There is a specific peace in watching the water turn from clear to a deep, amber hue. It feels like a small rebellion against waste.
Ingredients
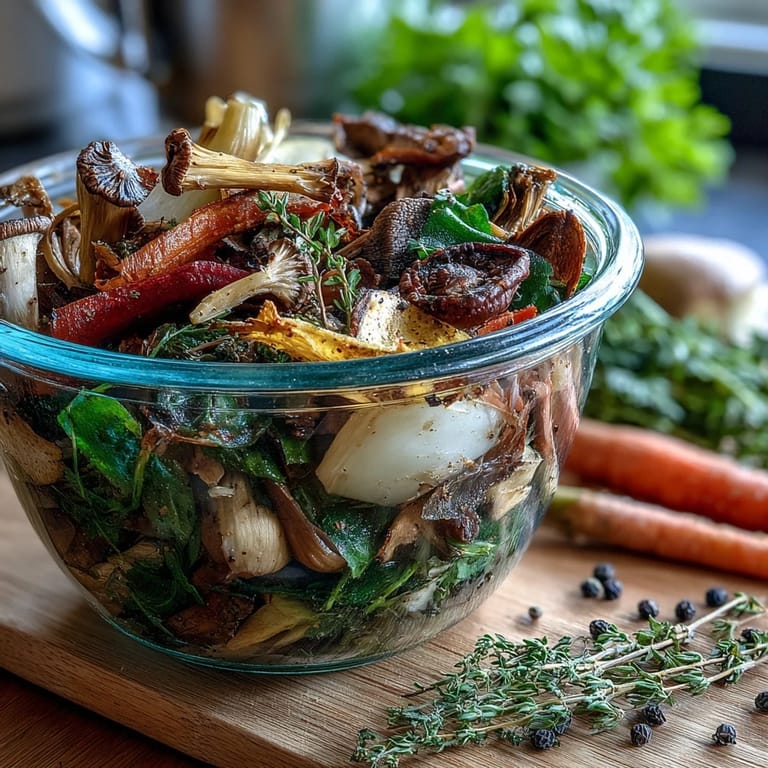
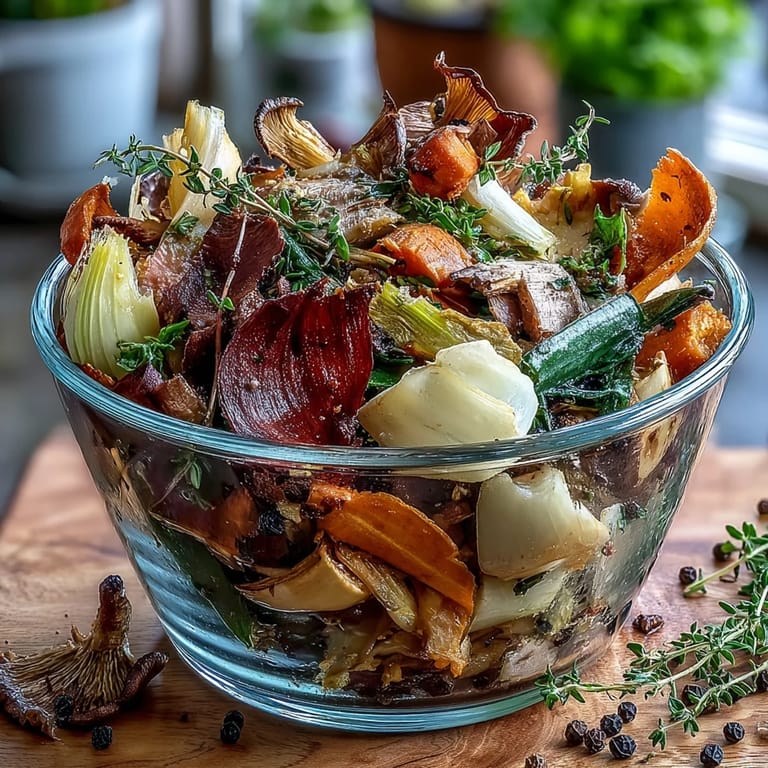
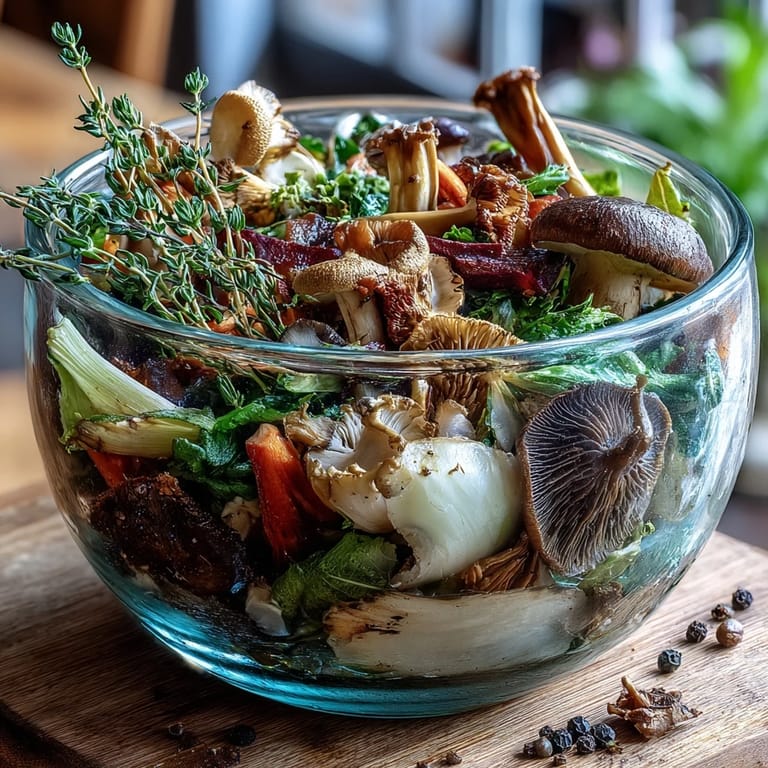
- Vegetable Scraps: These are the heart of your broth and using a mix of carrot, onion, and celery provides a classic base flavor.
- Bay Leaf: This humble leaf adds a subtle herbal depth that ties all the varied vegetable notes together perfectly.
- Black Peppercorns: These little sparks of heat infuse the liquid with a gentle warmth that builds at the back of your throat.
- Garlic: Crushing the cloves helps release their pungent oils which adds a necessary savory punch to the mix.
- Cold Water: Starting with cold water allows the vegetables to heat up slowly and release their flavors more evenly.
Tired of Takeout? 🥡
Get 10 meals you can make faster than delivery arrives. Seriously.
One email. No spam. Unsubscribe anytime.
Instructions
- Gather the scraps:
- Tumble your cleaned vegetable trimmings into your largest stockpot while making sure to avoid any bitter brassicas like broccoli.
- Add the aromatics:
- Toss in your bay leaf, peppercorns, and garlic before covering everything with the cold water.
- Simmer slowly:
- Bring the pot to a soft boil and then turn the heat down so it just barely bubbles for about an hour.
- Strain and store:
- Pour the liquid through a fine mesh sieve into jars and watch the beautiful clear broth separate from the softened vegetables.
 Save to Pinterest
 My daughter once asked why I was cooking the garbage, and we spent the afternoon tasting the broth at different stages. By the time it was finished, she was sipping it straight from a mug and asking for more. It transformed from a kitchen experiment into a family favorite that we now make together whenever the freezer bag gets full.
The Freezer Bag Strategy
Keeping a dedicated bag in the freezer is the easiest way to ensure you always have enough scraps for a full pot. I find that when I see the bag getting full, it naturally prompts me to plan a soup or stew for the upcoming weekend. This simple habit turns daily cooking prep into a long term investment for future meals.
Finding the Right Balance
The beauty of this process is that every batch tastes slightly different depending on what you cooked that week. If I have a lot of leeks, the broth is sweeter, while extra mushroom stems provide a rich umami kick that feels incredibly meaty. You will soon learn which combinations of scraps create your personal favorite flavor profile.
Beyond the Soup Pot
While soup is the obvious choice, I love using this liquid to cook grains or even as a savory poaching liquid for proteins. It adds a layer of seasoning that water simply cannot match while keeping things light and healthy. Experimenting with these liquids has completely changed how I approach side dishes and grain bowls.
- Use the broth to cook quinoa or rice for a massive boost in flavor.
- Freeze the liquid in ice cube trays to quickly deglaze pans during weeknight cooking.
- Sip a warm mug of it with a pinch of ginger when you feel a cold coming on.
 Save to Pinterest
 Turning scraps into sustenance is a small but powerful way to honor the ingredients in your kitchen. I hope this gold liquid brings as much warmth to your home as it does to mine.
Recipe FAQ
- → What vegetables should I avoid adding to the broth?
Skip potato peels, brassicas like broccoli and cauliflower, and overly starchy or sweet vegetables. These can make your broth cloudy or bitter. Stick with onion skins, carrot peels, celery ends, leek tops, and mushroom stems for the best results.
- → How long does homemade vegetable broth last?
Properly stored in airtight containers, your broth will keep in the refrigerator for up to 5 days. For longer storage, freeze it for up to 3 months. Consider freezing in ice cube trays for easy portioning.
- → Can I add salt while making the broth?
Adding salt is optional and should be done sparingly if you plan to use the broth in other dishes. This allows you to control the sodium level in your final preparations. Taste and adjust near the end of simmering if desired.
- → What's the best way to strain the broth?
A fine-mesh sieve works well for straining, but for an exceptionally clear broth, line your sieve with cheesecloth. This catches even the smallest particles and ensures a smooth, refined liquid perfect for elegant presentations.
- → How can I enhance the flavor of my vegetable broth?
Roast your vegetable scraps at 200°C (400°F) for 20 minutes before simmering. This caramelization adds depth and richness. You can also include a piece of kombu seaweed or dried mushrooms for an extra boost of umami.
- → Can I collect scraps over time instead of all at once?
Absolutely! Keep a container in your freezer and add vegetable trimmings as you cook. When you have enough, simply thaw and proceed with the broth. This method ensures you always have scraps ready and reduces food waste even further.