 Save to Pinterest
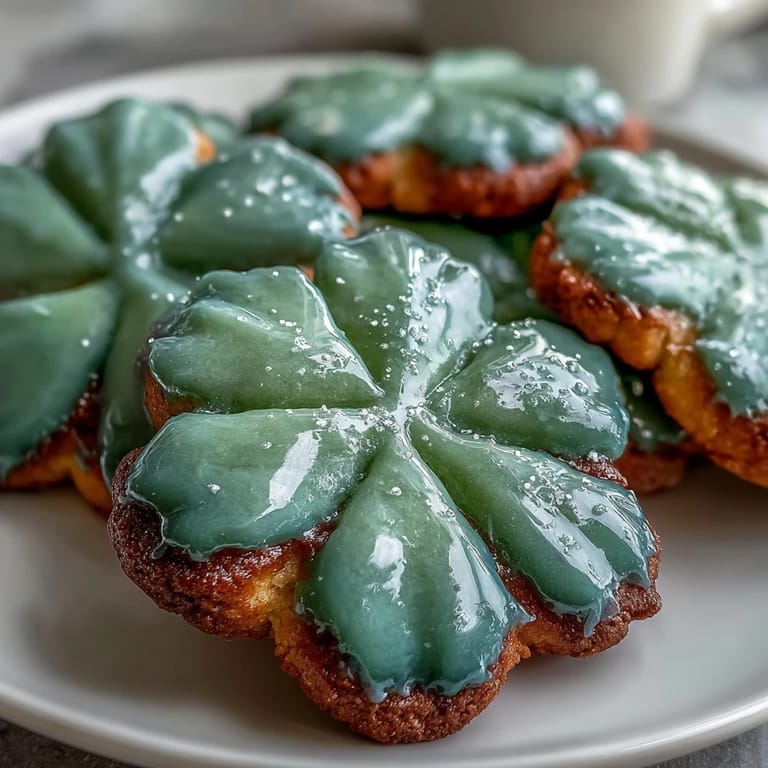
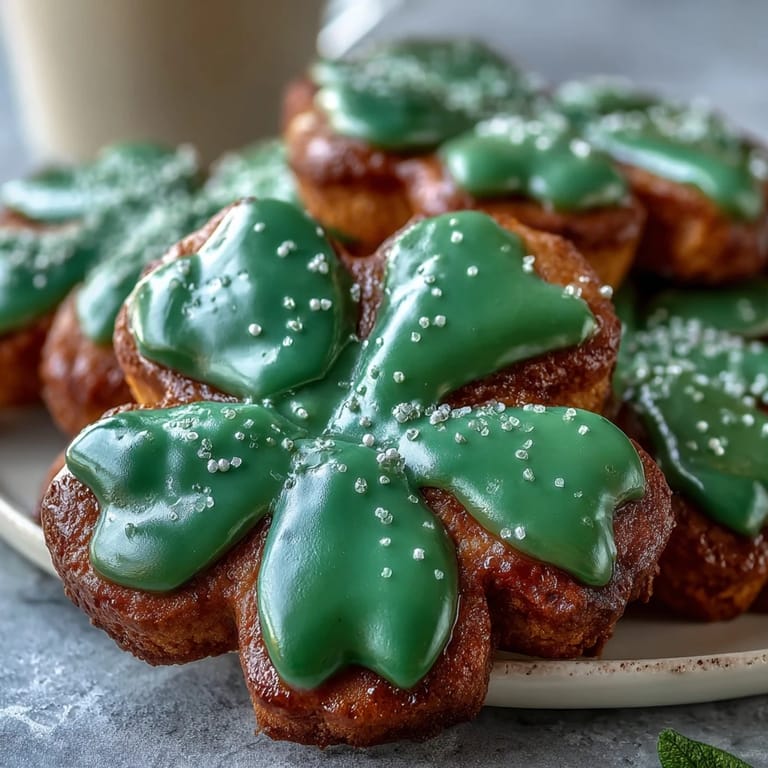
 There's something about the week before St. Patrick's Day that makes me want to bake shamrocks in my kitchen, even though I'm not Irish. One March, a friend mentioned she'd never had a homemade decorated cookie before, and I decided right then to change that. These sugar cookies with their smooth green royal icing became the thing I made for her, and now they're the first thing I reach for when the holiday rolls around. The combination of buttery dough and that glossy icing feels both celebratory and somehow intimate, like you're giving someone a tiny piece of effort wrapped in festive green.
I made these for a St. Patrick's Day potluck where I knew half the people wouldn't bother with green food, so I showed up with two dozen shamrock cookies instead. Someone's kid picked one up, looked at the perfect icing, and asked if it was "real food or decoration." When they bit into it and tasted how good it was, I got that look—the one that makes the whole baking project worth it. That moment taught me that people remember thoughtful, handmade desserts far longer than anything else you could bring.
Ingredients
- Unsalted butter (1 cup, softened): This is the foundation of flavor and texture, so let it sit at room temperature until it yields slightly to pressure. Cold butter won't cream properly and you'll end up with dense, tough cookies.
- Granulated sugar (1 cup): The creaming process with butter incorporates air, creating that light, tender crumb everyone expects.
- Egg (1 large): This binds everything together and helps the cookies spread just enough to get soft, chewy edges.
- Pure vanilla extract (1½ teaspoons): Use the real stuff here because it's what carries the flavor when the butter isn't center stage.
- Almond extract (½ teaspoon, optional): This adds a subtle depth that rounds out the vanilla without announcing itself, though you can skip it or swap in lemon zest instead.
- All-purpose flour (2¾ cups): Measure by spooning into your measuring cup and leveling off, don't scoop directly from the bag or you'll pack too much in.
- Baking powder (½ teaspoon): Just enough to give the cookies a gentle lift without making them cake-like.
- Salt (½ teaspoon): This balances the sweetness and makes the butter flavor shine.
- Powdered sugar (3 cups, sifted): Sifting matters here because lumpy icing looks rough and behaves unpredictably when piping.
- Meringue powder (2 tablespoons): This stabilizes the icing and helps it dry to that perfect hard, glossy finish that protects the cookies during storage.
- Warm water (4–5 tablespoons): Add this gradually because temperature and humidity affect how much you actually need.
- Green gel food coloring: Gel holds color better than liquid and doesn't thin out the icing the way regular food coloring does.
Tired of Takeout? 🥡
Get 10 meals you can make faster than delivery arrives. Seriously.
One email. No spam. Unsubscribe anytime.
Instructions
- Cream the butter and sugar:
- In a large bowl, beat softened butter and sugar together on medium speed for 2–3 minutes until the mixture goes pale and fluffy, like whipped clouds. This is where the texture of your cookie begins, so don't skip or rush this step.
- Blend in the wet ingredients:
- Add the egg and extracts, beating until everything disappears into the butter mixture. The batter might look slightly curdled at first, but keep beating and it will come together into something creamy.
- Mix the dry ingredients separately:
- In another bowl, whisk together flour, baking powder, and salt so the leavening distributes evenly. This prevents those occasional flat spots on cookies where the baking powder missed.
- Combine wet and dry gently:
- Add the flour mixture to the butter mixture in a few additions, mixing on low speed just until no white streaks remain. Overmixing here develops gluten and makes tough cookies, so stop as soon as everything looks combined.
- Chill the dough:
- Divide dough in half, flatten into two discs, wrap in plastic, and refrigerate for at least 1 hour, or even overnight. This resting time lets the gluten relax and the flavors develop while making the dough much easier to handle.
- Heat the oven and prep your pans:
- Preheat to 350°F (175°C) and line two baking sheets with parchment paper. Cold dough on room-temperature pans means more even baking.
- Roll and cut the dough:
- On a lightly floured surface, roll one dough disc to ¼-inch thickness, keeping your scraps to re-roll at the end. Place shamrocks about 1 inch apart because they'll spread slightly and you don't want them merging.
- Bake until just golden:
- Bake for 8–10 minutes, watching for the edges to turn light golden while the centers still look barely set. Underbaked is better than overbaked here because the cookies keep cooking slightly on the hot pan.
- Cool with patience:
- Let cookies sit on the baking sheet for 5 minutes to firm up, then transfer to a cooling rack to cool completely. Decorating warm cookies will cause the icing to melt and slide off.
- Make the royal icing:
- In a clean bowl, combine sifted powdered sugar, meringue powder, and vanilla, then add warm water one tablespoon at a time while beating on low. The icing should form stiff but glossy peaks that hold their shape when you lift the beaters.
- Tint and pipe with precision:
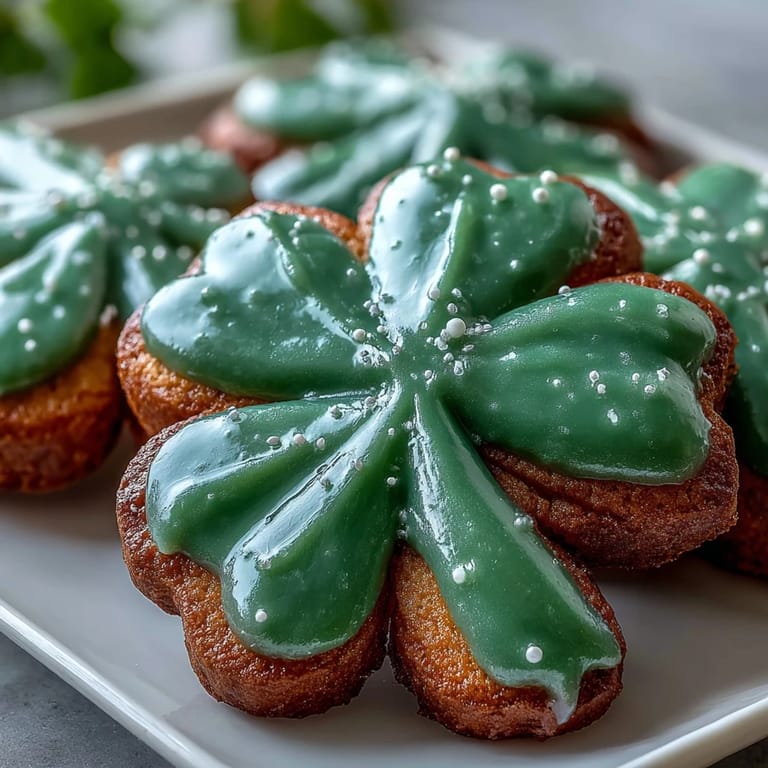
- Stir in a few drops of green gel coloring until you reach festive green, then transfer to a piping bag with a small round tip. Outline each cookie first, then flood the center with a slightly thinner consistency of icing for a smooth, glossy finish.
- Let the icing set:
- Allow decorated cookies to sit uncovered for at least 4 hours or overnight until the icing hardens completely. This protective coating keeps the cookies fresh and makes them easy to package or gift.
 Save to Pinterest
 The day I made these for my neighbor who had just moved in, she cried a little when I handed her the box. She said no one had ever made something by hand for her before, and suddenly these weren't just cookies anymore—they were a small gesture that told her she mattered. That's when I understood that the decoration is nice, but the real magic is in the knowing that someone spent time thinking of you while their hands were busy with flour and butter.
Getting Your Icing Consistency Right
The trick to beautiful cookies is understanding that royal icing has two personalities depending on what you need it to do. When you're outlining the shamrock edge, you want a thicker consistency that holds its shape and creates a barrier, almost like a dam. Once that outline is set for a minute or two, you thin your remaining icing with a few drops of water at a time until it's creamy but still flows, which lets you fill the center with a smooth, glossy coat. I learned this the hard way by flooding my first batch of cookies with icing that was way too thick, leaving visible streaks and peaks instead of that jewel-like shine. The consistency should be somewhere between peanut butter and thick paint—thick enough to stay put but loose enough to flow and level out.
Storage and Gifting Secrets
Once the icing is completely hard, these cookies live happily in an airtight container at room temperature for up to a week, maybe longer if you're careful. I've learned that stacking them with parchment between layers prevents the icing from sticking to the next cookie, and keeping them away from humidity keeps them crisp. If you're giving them as a gift, a pretty box lined with tissue paper feels extra thoughtful, and people always appreciate knowing that these were made by someone who cares enough to decorate by hand.
Flavor Twists and Variations
While the classic vanilla and almond combo is perfect as-is, these cookies are your canvas for a little creativity. Some years I swap the almond extract for finely grated lemon zest, which gives the cookies a bright, slightly citrusy note that pairs beautifully with the green icing. Orange zest works too, giving everything a more sophisticated flavor, and if you want to go really adventurous, a tiny pinch of cardamom adds an unexpected warmth that makes people ask what that mysterious flavor is.
- Try almond extract as written for the traditional taste, or experiment with lemon zest for brightness and a spring feeling.
- Orange zest brings warmth and sophistication, making these feel more grown-up and bakery-quality.
- Remember that extracts are strong, so go easy and taste as you add if you're trying something new.
 Save to Pinterest
 Making these cookies has become part of how I mark the season, a small tradition that says hello to spring and reminds me that the sweetest part of cooking is giving something to the people around you. I hope they become that for you too.
Recipe FAQ
- → How do I ensure soft cookies?
Chill the dough for at least an hour to reduce spreading and bake just until edges turn golden to keep them tender.
- → What gives royal icing its hard finish?
Meringue powder combined with powdered sugar and drying time allows royal icing to set hard and pipe smoothly.
- → Can almond extract be substituted?
Yes, lemon or orange zest can replace almond extract for a bright, citrus twist in flavor.
- → What thickness should the dough be rolled to?
Roll the dough to about ¼ inch thickness to achieve sturdy yet delicate cookies that hold shape well.
- → How long does it take for icing to dry completely?
Allow several hours at room temperature for the royal icing to dry fully and harden before storing or packaging.