 Save to Pinterest
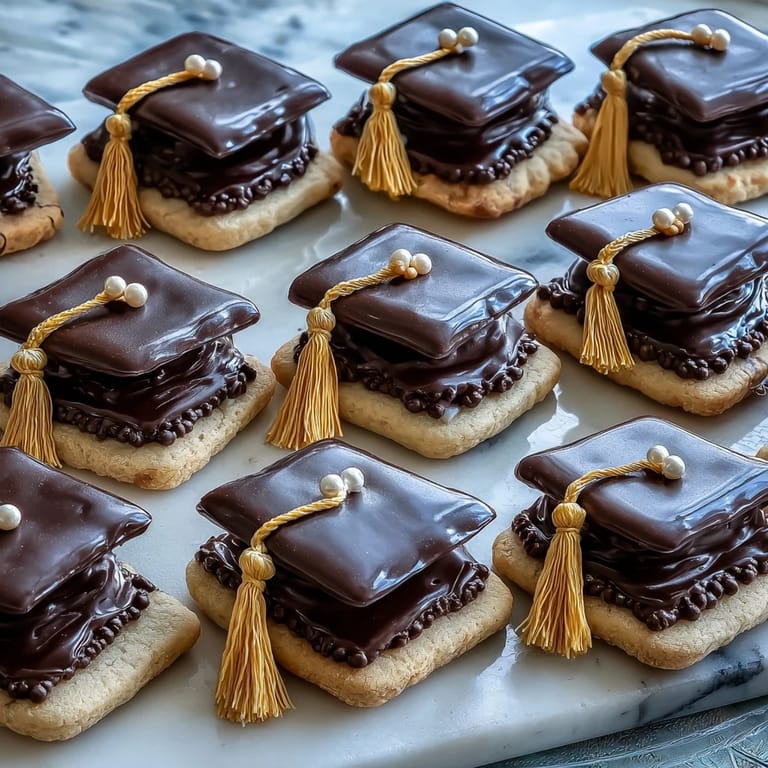
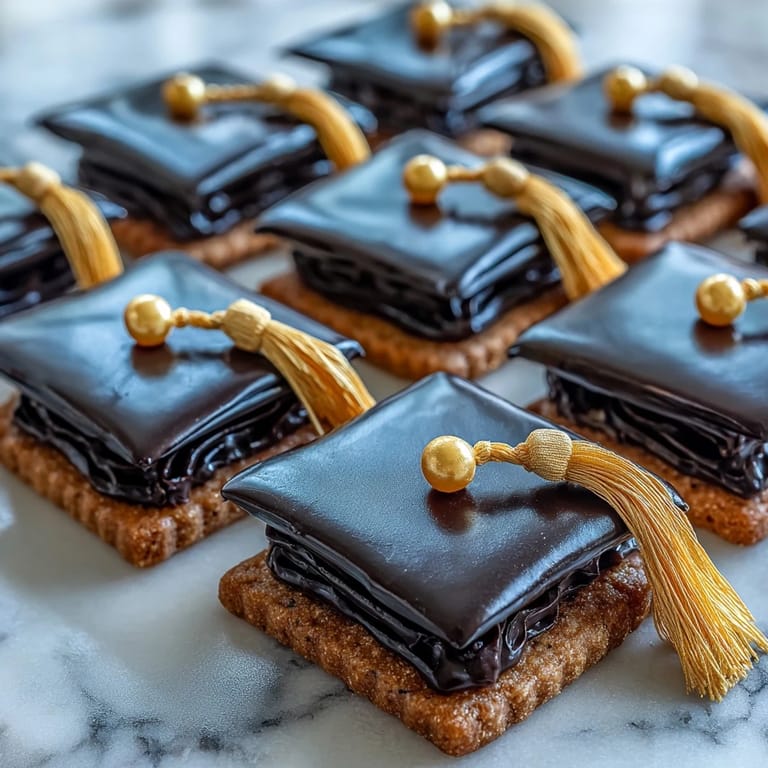
 My cousin called me in a panic two weeks before her graduation, asking if I could make something special for her celebration party. I'd never decorated cookies before, but her excitement was infectious, so I decided to tackle graduation cap cookies. Watching her face light up when she saw them arranged on a platter—each one perfectly crowned with black icing and a tiny yellow tassel—made me realize these weren't just cookies. They were edible congratulations, baked proof that someone believed in her accomplishment.
I made a batch the afternoon before a friend's grad party, not expecting how calming the whole process would be. There's something about the quiet focus of outlining each cap in black icing, then adding those tiny yellow tassels, that makes you forget about everything else for a while. By the time I finished, I'd made something that tasted good and looked celebratory without feeling pretentious—just right for marking a big moment.
Ingredients
- All-purpose flour: This is the backbone of your dough, and measuring by weight rather than volume gives you consistent results every time.
- Baking powder: Just a touch gives these cookies a tender crumb without making them cake-like.
- Unsalted butter: Softened to room temperature, it creams beautifully with sugar and keeps the flavor clean so the vanilla shines through.
- Granulated sugar: This sweetens and helps create that signature crisp edge when the cookies bake.
- Egg and vanilla extract: The egg binds everything together while vanilla adds warmth that makes people ask what your secret is.
- Powdered sugar: Sift it before using to avoid lumps in your icing, which makes piping so much smoother.
- Egg whites or meringue powder: Either works, but meringue powder eliminates any food safety worry if you're concerned about raw eggs.
- Gel food coloring: It's concentrated, so a tiny amount goes a long way and won't thin out your icing like liquid coloring does.
- Mini M&Ms or candy pearls: These become the tassel jewels, adding a playful finishing touch that makes people smile.
Tired of Takeout? 🥡
Get 10 meals you can make faster than delivery arrives. Seriously.
One email. No spam. Unsubscribe anytime.
Instructions
- Mix your dry ingredients:
- Whisk flour, baking powder, and salt together in one bowl so everything distributes evenly through the dough. This prevents pockets of baking powder that taste metallic.
- Cream butter and sugar:
- Beat them together for two to three minutes until the mixture looks pale and fluffy, almost like soft serve ice cream. This incorporation of air makes your cookies tender rather than dense.
- Add wet ingredients:
- Drop in the egg and vanilla, mixing until you can't see streaks anymore. Scrape down the bowl because the edges always hide unmixed bits.
- Bring dough together:
- Add your flour mixture gradually, stirring just until you see no white streaks. Overmixing develops gluten and makes cookies tough instead of crisp.
- Chill the dough:
- Wrap each dough disk and refrigerate for 30 minutes so it firms up enough to roll without sticking. Cold dough also spreads less while baking, keeping your caps sharp-edged.
- Roll and cut:
- On a lightly floured surface, roll dough to quarter-inch thickness and cut graduation cap shapes or squares. Work quickly because dough warms up fast and starts sticking.
- Bake until golden:
- Eight to ten minutes is all you need—pull them out when the edges just turn golden but the centers still look slightly underbaked. They crisp up completely as they cool.
- Make royal icing:
- Beat egg whites until foamy, then gradually add sifted powdered sugar until you reach stiff, glossy peaks. This takes about five minutes and your arm will feel it, but this texture is what holds its shape.
- Divide and tint:
- Reserve a small amount of white icing, then color the rest black with gel coloring. Tint a separate small batch yellow for the tassels and buttons.
- Adjust consistency:
- For flooding the caps, thin your black icing with water one teaspoon at a time until it flows smoothly but still holds shape. For piping details, keep your yellow icing stiffer.
- Outline and flood:
- Pipe a black outline around each cookie, then use a toothpick to gently spread the thinner icing to fill the interior. Let this sit 30 to 60 minutes until it dries completely.
- Add tassels and embellishments:
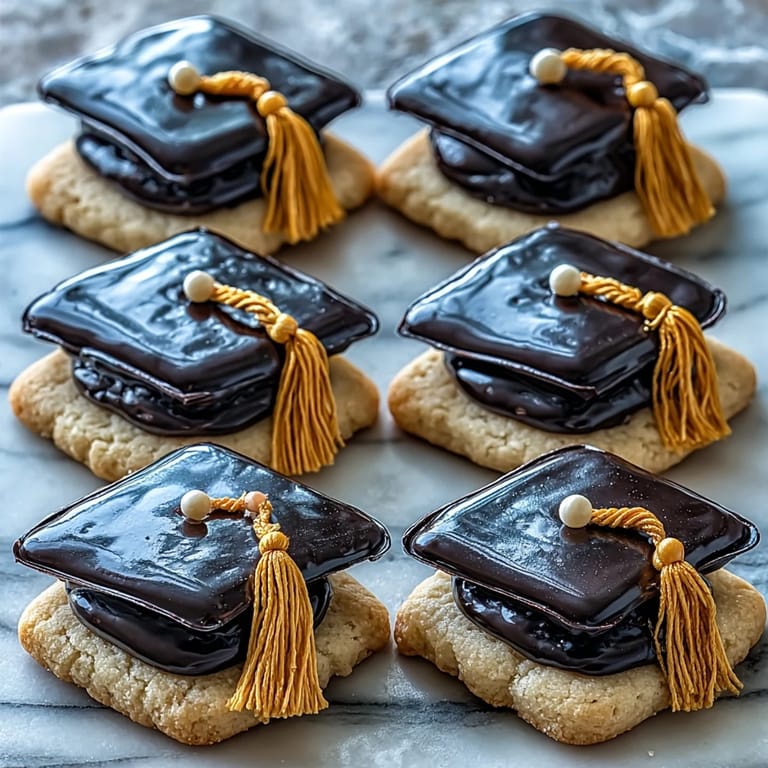
- Once the base is dry, pipe yellow lines from the top edge of each cap for the tassel, then add a small yellow button where it attaches. Top with a tiny candy.
- Let everything dry:
- Patience here makes the difference between cookies that smudge and ones that look professional. Overnight drying is ideal before serving or packaging.
 Save to Pinterest
 What struck me most wasn't the technical part of decorating, but the moment my cousin's friends started picking up these cookies at her party. They weren't just eating them—they were laughing, taking photos, talking about how cool it was that someone had made something this thoughtful. That's when I understood that celebration food doesn't need to be complicated to be meaningful.
Why These Cookies Feel Special
There's something about making food shaped like graduation caps that shifts the whole act from baking into something closer to ceremony. These aren't just treats you grab mindlessly—they're conversation starters that acknowledge achievement. People slow down to appreciate them, which is rare for cookies. That intentionality is what makes them perfect for this moment in someone's life.
Timing and Prep Strategy
I learned the hard way that trying to bake and decorate in one day leaves you exhausted and rushing. Baking the cookies two days ahead and decorating the next day spreads the work into manageable pieces. Your hands stay fresher for piping, your patience stays stronger, and the cookies taste just as good. Plan backward from your event so you're not stressed the morning of.
Decoration Secrets and Variations
The beauty of this recipe is how flexible it is with decoration. I've seen versions with glitter sugar, different candy toppers, and even metallic colors for formal celebrations. Some people use square cutters instead of graduation cap shapes, which honestly might be easier if you don't have the fancy cutter. What matters is the care you put in, not achieving perfection.
- If royal icing intimidates you, store-bought versions work perfectly well and save you 20 minutes.
- Set up a decoration station with all your icing bags and candies prepped so you're not hunting for things mid-pipe.
- Practice piping your tassel on parchment first if you're nervous—mistakes wipe clean and vanish into the sink.
 Save to Pinterest
 Make these cookies when you want to celebrate someone without needing an elaborate excuse. They taste like butter and vanilla and joy, which is exactly what a good celebration should taste like.
Recipe FAQ
- → What type of flour is best for these cookies?
All-purpose flour is recommended to achieve the crisp yet tender texture ideal for decorated cookies.
- → How can I make the royal icing smoother?
Beat the egg whites and powdered sugar thoroughly until stiff, glossy peaks form; adding a few drops of water can adjust consistency for flooding.
- → Can I prepare cookies ahead of time?
Yes, cookies can be baked two days in advance and decorated the following day for the freshest results.
- → What is the purpose of chilling the dough?
Chilling firms the dough for easier rolling and cutting, helping maintain the shape during baking.
- → How do I create the graduation cap shapes?
Use a graduation cap or square cookie cutter to cut the chilled dough before baking.
- → Are there alternatives to gel food coloring?
Natural food colorings can be used to tint the royal icing if preferred over gel colors.