 Save to Pinterest
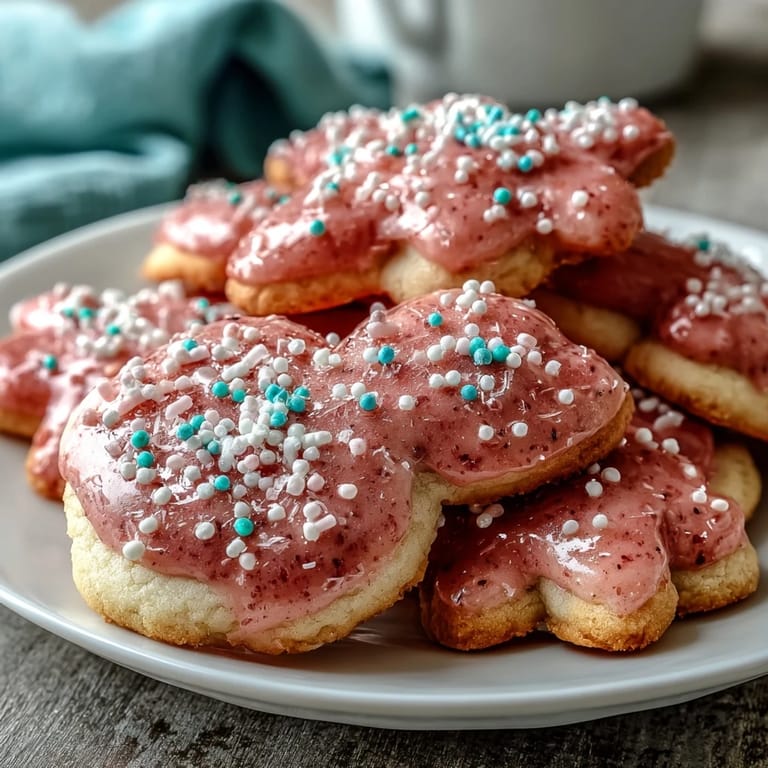
 Every Easter, my kitchen transforms into a pastel wonderland the moment I pull out the cookie cutters. There's something about the ritual of mixing butter and sugar until it's cloud-light, then watching neighbors stop by drawn in by the vanilla-scented air wafting through the window. These sugar cookies have become my signature spring gift, maybe because they're forgiving enough for a beginner but impressive enough to make you feel like a real baker. The tender crumb and delicate icing have a way of turning a simple afternoon into something worth remembering.
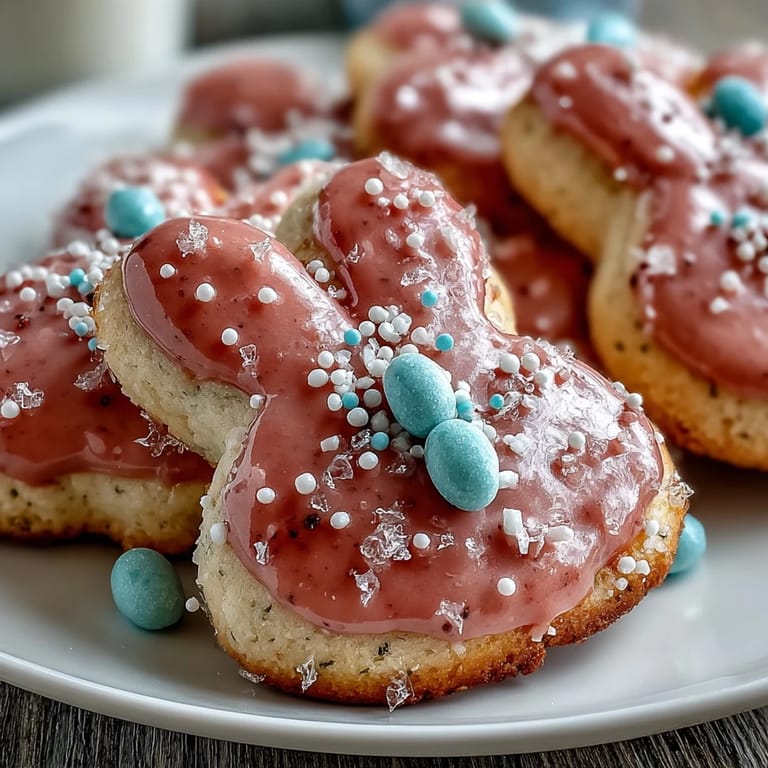
Last spring, my sister brought her three kids over with zero notice, and I somehow turned this recipe into an afternoon activity that kept them entertained for hours. The youngest carefully piped lavender swirls on a bunny-shaped cookie while humming off-key, and honestly, that imperfect pastry masterpiece tasted better than anything I'd ever made alone. These cookies stopped being about impressing anyone and started being about the mess, the laughter, and the simple joy of creating something edible together.
Ingredients
- All-purpose flour: The foundation that keeps these cookies tender rather than cakey—don't sift it before measuring or you'll end up with tough, dense results.
- Baking powder: Just enough to give the cookies a gentle lift so they stay delicate and melt-in-your-mouth.
- Salt: A small but mighty ingredient that wakes up the vanilla and balances the sweetness.
- Unsalted butter: Room temperature is non-negotiable; cold butter won't cream properly and your dough will be grainy.
- Granulated sugar: The key to that slight crispness at the edges while the center stays soft.
- Egg: Binds everything together and adds richness without making the cookies cake-like.
- Pure vanilla extract: Cheap vanilla will let you down—spend the extra dollar and your guests will taste the difference.
- Milk: A tablespoon sounds small but it makes the difference between dough that crumbles and dough that holds together beautifully.
- Powdered sugar: Must be sifted or your icing will have lumps that won't pipe smoothly.
- Meringue powder: Creates that glossy, professional-looking finish that sets hard and looks like stained glass when light hits it.
- Warm water: Start with less and add gradually; too much turns your icing into soup and too little makes it impossible to work with.
- Pastel gel food coloring: Gel stays truer to pastel shades without watering down your icing like liquid food coloring does.
Tired of Takeout? 🥡
Get 10 meals you can make faster than delivery arrives. Seriously.
One email. No spam. Unsubscribe anytime.
Instructions
- Gather and organize your dry ingredients:
- Whisk together the flour, baking powder, and salt in a medium bowl, then set it aside—this ensures everything is evenly distributed and ready to fold in without overmixing.
- Cream butter and sugar until fluffy:
- Beat them together for 2 to 3 minutes until the mixture looks pale and cloud-like; this is where you're incorporating air that will make your cookies tender. If you rush this step, your cookies will be dense.
- Add the wet ingredients:
- Mix in the egg and vanilla extract until everything is smooth and combined, scraping down the bowl to make sure nothing is hiding at the bottom.
- Gently bring the dough together:
- On low speed, add the dry ingredients gradually, then add the milk at the end—mixing on low speed prevents overworking the gluten and keeps your cookies from becoming tough. Stop mixing the moment everything is just combined.
- Rest the dough:
- Divide the dough in half, flatten each piece into a disc, wrap tightly in plastic wrap, and refrigerate for at least 1 hour—chilled dough is easier to roll and won't spread too much in the oven.
- Prepare your workspace:
- Preheat your oven to 350°F and line your baking sheets with parchment paper so your cookies slide off easily and bake evenly.
- Roll and cut with care:
- Work on a lightly floured surface and roll the dough to about 1/4-inch thickness—thinner cookies will crisp up more at the edges while staying soft inside. Use your Easter-shaped cutters and place the cut cookies on your prepared sheets about 1 inch apart so they have room to spread.
- Bake until just golden:
- Bake for 8 to 10 minutes, watching carefully so the edges just barely turn golden—this is the moment they're perfect, any longer and they'll be dry. Let them cool on the sheet for 5 minutes, then transfer to a wire rack to cool completely.
- Make the royal icing:
- Combine sifted powdered sugar and meringue powder, then gradually add warm water while beating on low until the mixture is smooth. Switch to high speed and beat for 3 to 4 minutes until stiff peaks form—this takes longer than you'd expect but it's worth it for that glossy finish.
- Color your icing:
- Divide the icing into separate bowls and add just a tiny amount of pastel gel coloring to each—gel color is concentrated, so you need far less than you'd think. Mix thoroughly until the color is even.
- Decorate with patience:
- Transfer each color to a piping bag and decorate the cooled cookies however your heart desires—let the icing set completely before stacking or storing, which takes a few hours.
 Save to Pinterest
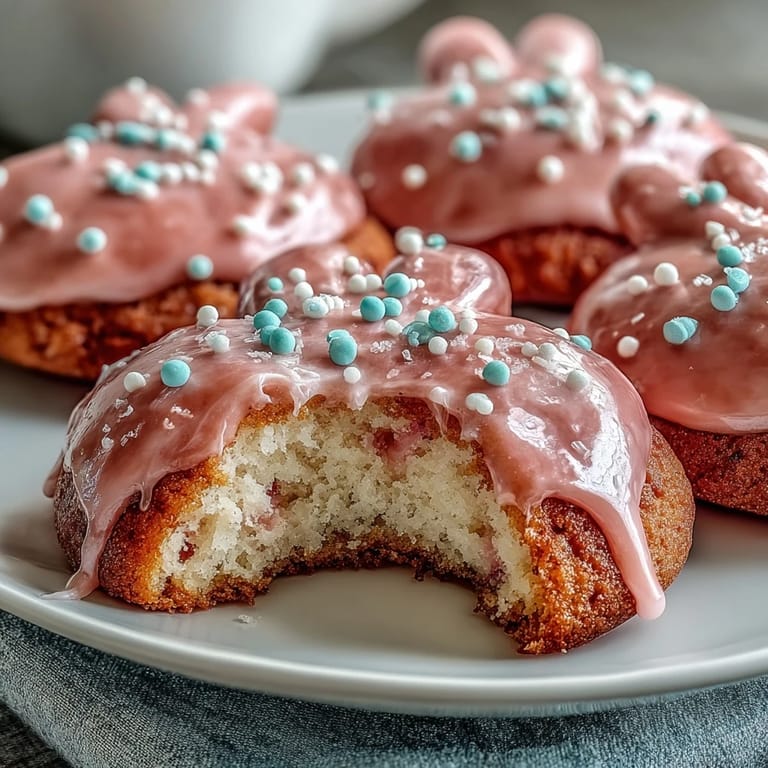
 The real magic of these cookies isn't in their appearance—it's in watching someone's face light up when they bite into one and realize how tender and buttery they are underneath that delicate icing. I've learned that the best recipes aren't the ones that impress people at first glance; they're the ones people ask you to make again and again.
Texture and Tenderness
The secret to cookies that melt on your tongue instead of turning rock-hard in your cookie jar is knowing exactly when to stop baking. I used to pull them out when the edges were clearly golden, thinking that meant done, but I learned the hard way that pulling them out when they look barely set—still slightly pale in the center—is what creates that perfect tender texture. Your cookies will continue to cook on the hot baking sheet for those 5 minutes while they cool, so trust that process.
Icing Consistency and Piping
One Easter I had too much confidence and piped my icing too thin, and it dripped everywhere like a sad sugar waterfall. I discovered that royal icing should be thick enough that it holds its shape when you lift the piping bag away, but not so stiff that it breaks apart as you work. If your icing feels too thick, add water one drop at a time; if it's too loose, dust in a tiny bit more powdered sugar and beat it back to life.
Storage and Make-Ahead Strategy
What I love most about this recipe is that you can bake the cookies three or four days ahead, leaving just the decoration for the day you need them—perfect for when life gets hectic. Store the unfrosted cookies in an airtight container with parchment between layers so they stay tender and fresh until you're ready to pipe.
- Decorated cookies will stay perfect for up to a week if stored in an airtight container away from humidity.
- If your icing starts to harden in the piping bag while you're working, cover it tightly with a damp paper towel and it'll soften back up in minutes.
- These cookies pair beautifully with Earl Grey tea on a quiet spring morning or passed around at an Easter celebration.
 Save to Pinterest
 These cookies are more than just a spring tradition in my kitchen—they're an invitation to slow down and create something beautiful with your hands. Bake them when you want to remember that some of life's best moments come from flour, butter, and a little patience.
Recipe FAQ
- → How do I keep cookies soft while baking?
To maintain softness, avoid over-baking by checking cookies as edges turn golden. Chilling the dough also helps preserve texture.
- → What is the best way to achieve smooth pastel icing?
Beat powdered sugar and meringue powder with water until stiff peaks form, then divide and tint with gel food colors for smooth, vibrant pastel icing.
- → Can I add flavor variations to the dough or icing?
Yes, incorporating lemon or almond extract enhances flavor without altering texture or structure noticeably.
- → How should decorated cookies be stored?
Store in an airtight container once icing has fully set, keeping them fresh for up to one week.
- → What tools are essential for shaping and decorating?
Use Easter-shaped cutters, rolling pin, and piping bags or squeeze bottles for precise shapes and detailed pastel icing decoration.