 Save to Pinterest
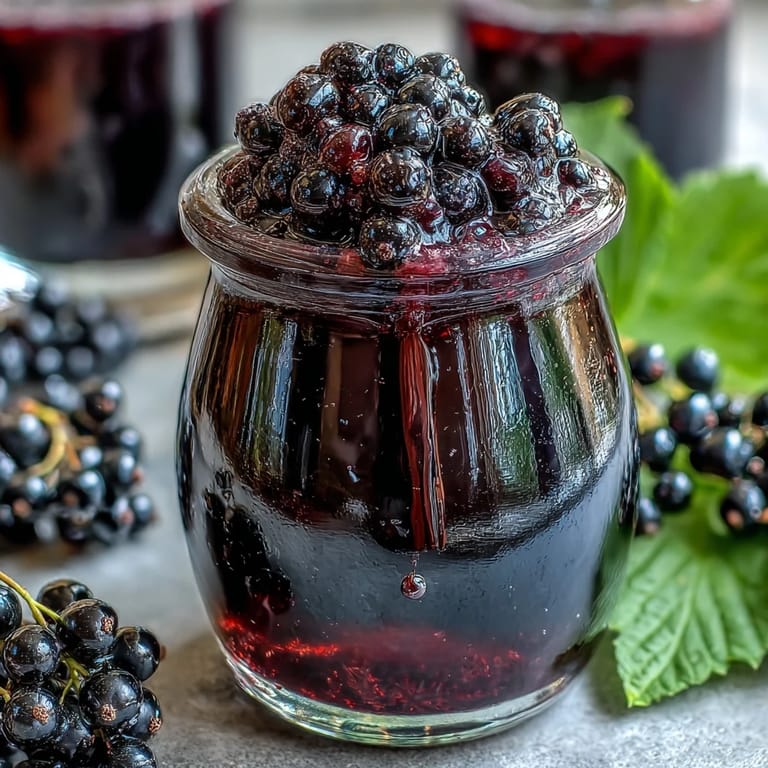
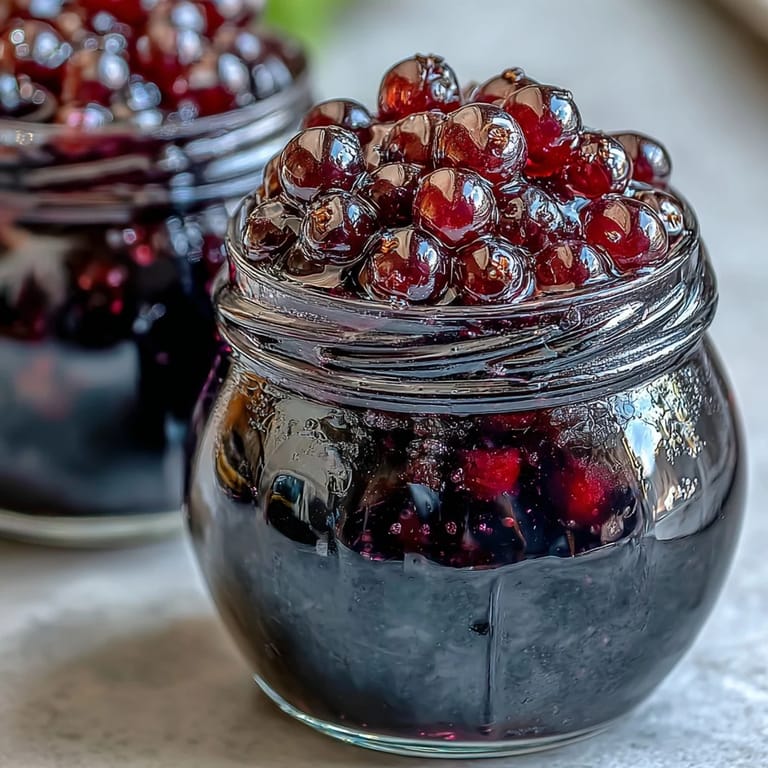
 The first time I made blackcurrant vodka, it was honestly an accident. I had picked way too many currants at a farm and couldn't bear to see them go to waste, so I shoved them in a jar with some cheap vodka and forgot them in the back of a cupboard for a month. When I finally remembered, the liquid had turned this impossibly deep jewel tone and smelled like concentrated summer. Now it's become my go-to homemade gift because people cannot believe something this complex came from three ingredients.
I started bringing a bottle to dinner parties instead of wine and it became this whole thing. People would ask what it was, take a tentative sip, and then suddenly everyone's gathered in the kitchen asking for the recipe. My friend Sarah actually hid the last bottle at her house so she wouldn't have to share. Now I make double batches and keep them in various stages of aging so I'm never caught empty handed.
Ingredients
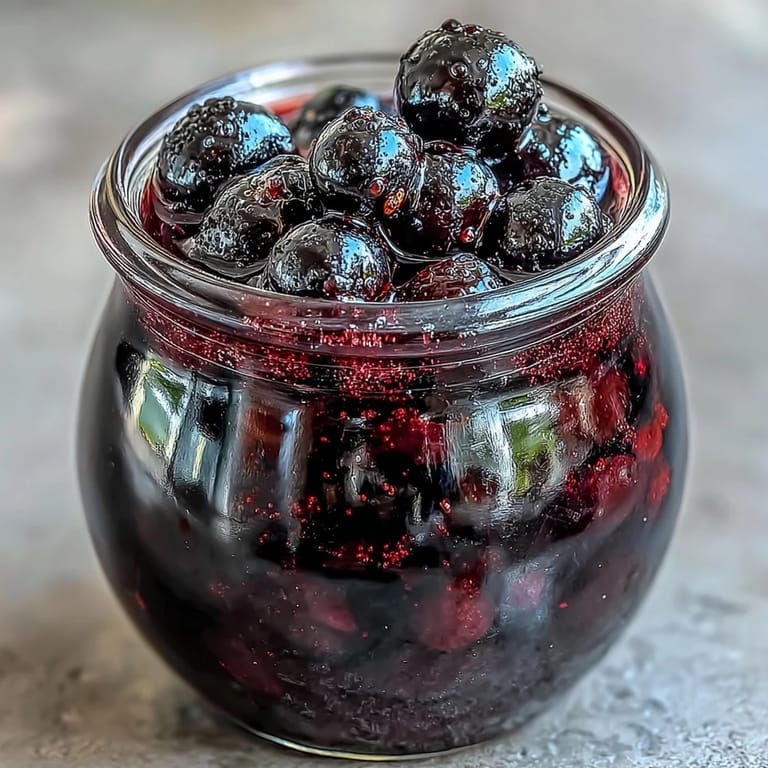
- 500 g fresh or frozen blackcurrants: Fresh ones give a brighter flavor but frozen work perfectly and are often easier to find outside peak season, just make sure they're completely thawed before starting
- 750 ml vodka: You don't need anything fancy or expensive since the fruit will completely transform it, but avoid the cheapest bottom shelf options
- 250350 g granulated sugar: Start with the lower amount and taste as you go, you can always add more but you can't take it back once it's dissolved
Tired of Takeout? 🥡
Get 10 meals you can make faster than delivery arrives. Seriously.
One email. No spam. Unsubscribe anytime.
Instructions
- Prep the currants:
- Wash the berries thoroughly and pull off any stems or leaves, pat them dry if they're fresh since excess water will dilute the final liqueur
- Combine everything:
- Place the currants in your sterilized jar, add the sugar on top, then pour in the vodka until everything is submerged
- Start the infusion:
- Seal the jar tightly and give it a gentle shake to help dissolve the sugar, then place it somewhere cool and dark
- Patience pays off:
- Shake the jar gently every few days to help the sugar dissolve and redistribute the flavors, let it sit for 3 to 6 weeks
- Finish and bottle:
- When it tastes right to you, strain it through a fine sieve or muslin into clean bottles and let it mature for another few weeks
 Save to Pinterest
 Last winter I made a batch with a vanilla bean split open and added to the jar, and it became this whole different creature entirely. My partner normally doesn't like sweet liqueurs but kept sneaking tastes from the bottle. We ended up serving it over vanilla ice cream for New Year's Eve and now everyone demands the vanilla version whenever I offer to make a fresh batch.
Choosing Your Vodka
I've tested this with cheap midrange and fancy vodkas and the truth is the currants will overpower most subtle differences anyway. Go for something neutral and decent but don't feel like you need to splurge. The one exception is avoid any heavily flavored vodkas since they'll compete with the fruit.
Timing Your Infusion
The longer you let it sit the smoother it gets, but there's definitely a point of diminishing returns. Three weeks gives you something bright and fruity, while six weeks develops these deeper almost wine like notes. I usually do two batches and start tasting at week three to see which I prefer that year.
Serving Ideas
Chilled straight up is my favorite way to serve it, maybe over a single ice cube if it's a particularly warm evening. It also makes an incredible negroni style drink with Campari and sweet vermouth. Don't limit yourself to drinking it either, a splash over pound cake or stirred into whipped cream will change your dessert game entirely.
- Try it with a twist of lemon instead of vanilla for something completely different
- The berries from straining make excellent additions to crumbles or breakfast porridge
- Store the finished bottles horizontally if possible to keep the corks from drying out
 Save to Pinterest
 There's something deeply satisfying about making something that improves with time in our instant everything world. Every time you pull out that bottle you'll remember the day you made it.
Recipe FAQ
- → How long does blackcurrant liqueur need to infuse?
Allow 3-6 weeks for full infusion. Taste after 3 weeks and continue infusing until the flavor reaches your preferred intensity. The longer it infuses, the deeper the fruit flavor becomes.
- → Can I use frozen blackcurrants?
Yes, frozen blackcurrants work excellently. Thaw them slightly before adding to the jar, and pat dry if excess moisture is present. Frozen berries are often just as flavorful as fresh.
- → What's the best way to serve this liqueur?
Serve chilled as a digestif after meals, pour over ice cream, or use in cocktails. It pairs beautifully with sparkling wine or tonic water for a refreshing spritz.
- → How should I store the finished liqueur?
Keep in a cool, dark place away from direct sunlight. Properly sealed and stored, it will last for 1-2 years. The flavor continues to mature and improve over time.
- → Can I adjust the sweetness level?
Absolutely. Start with 250g sugar for a tart liqueur, or increase to 350g for a sweeter result. Taste during infusion and add more sugar if needed, shaking to dissolve.